Important to Note:
Apple Pay is only compatible with our checkout product.
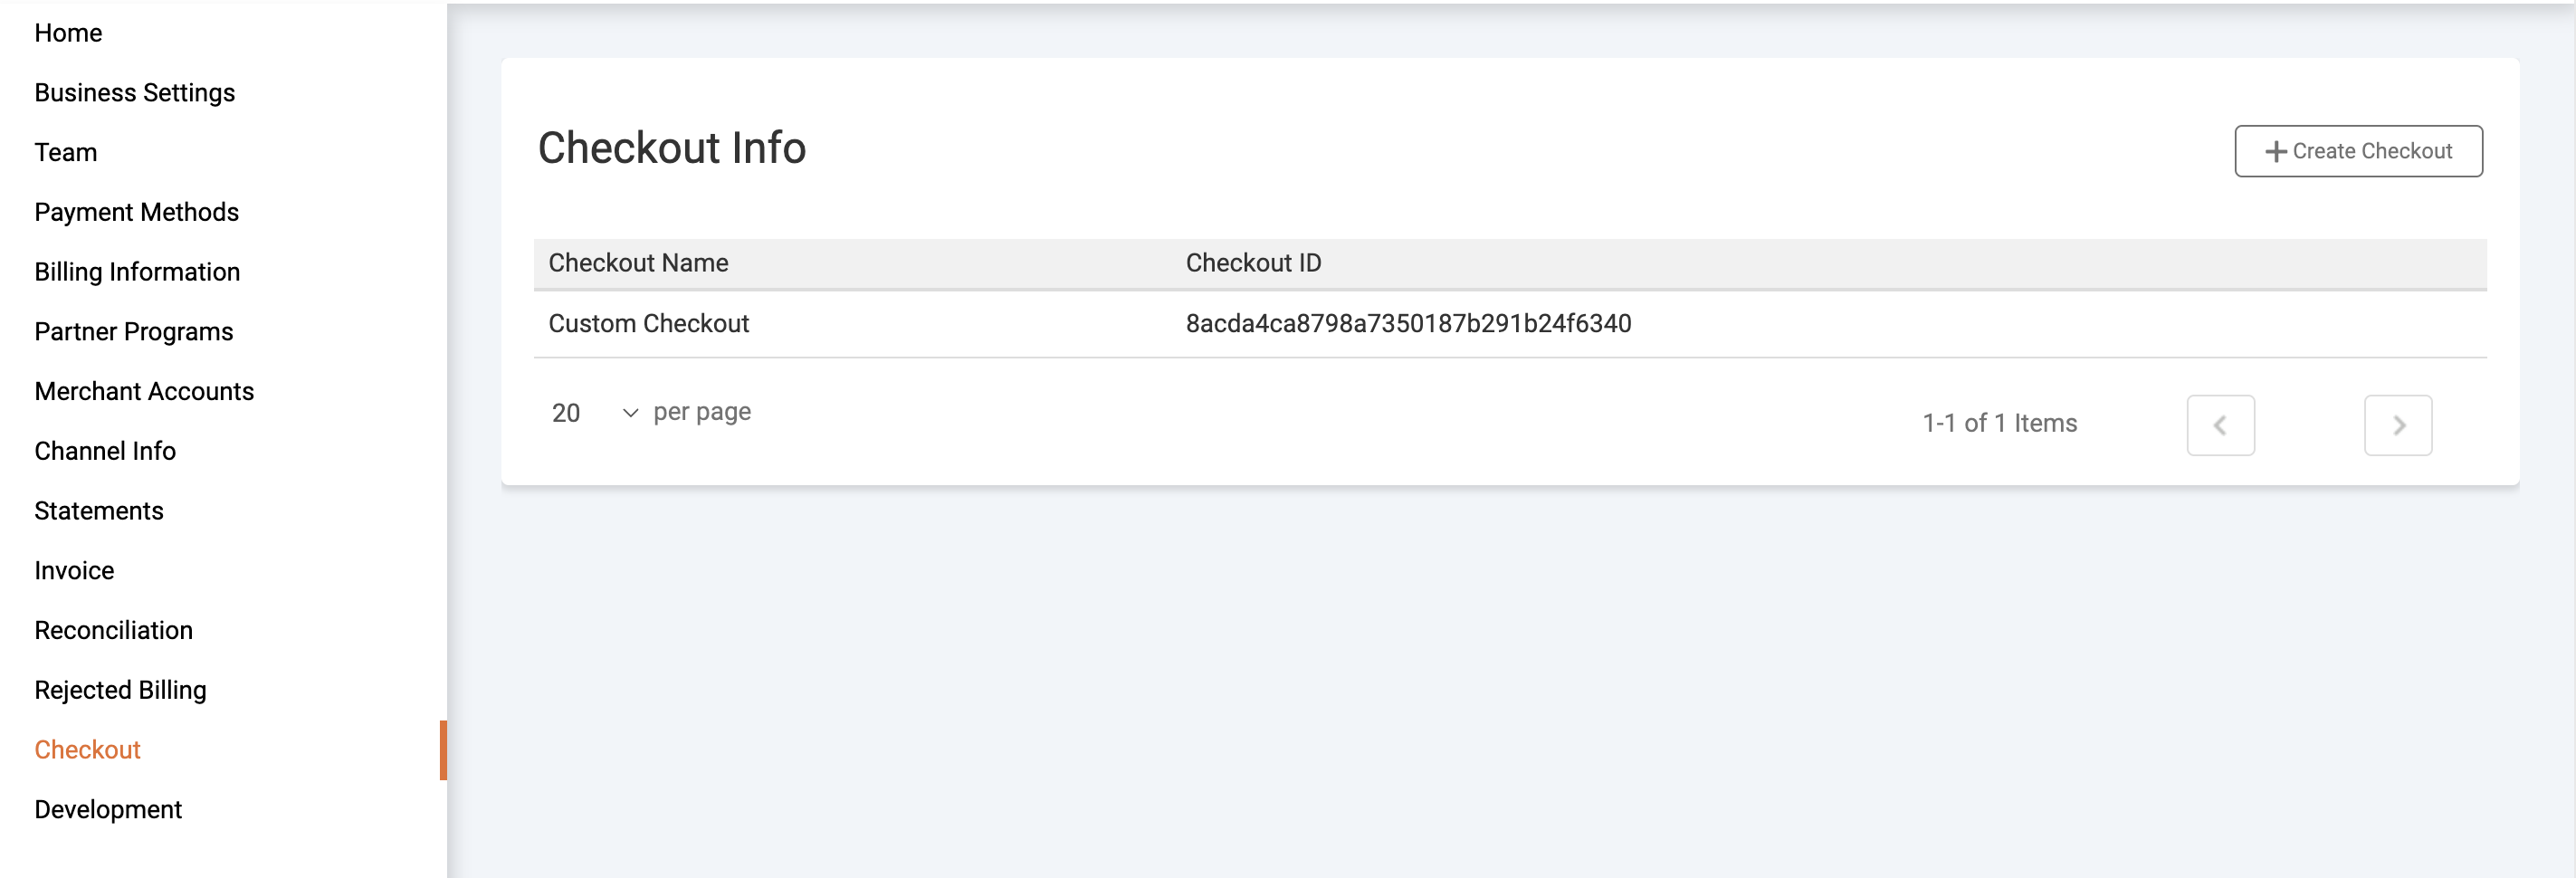
- Once you have created the merchant account, navigate to checkout and create the checkout channel
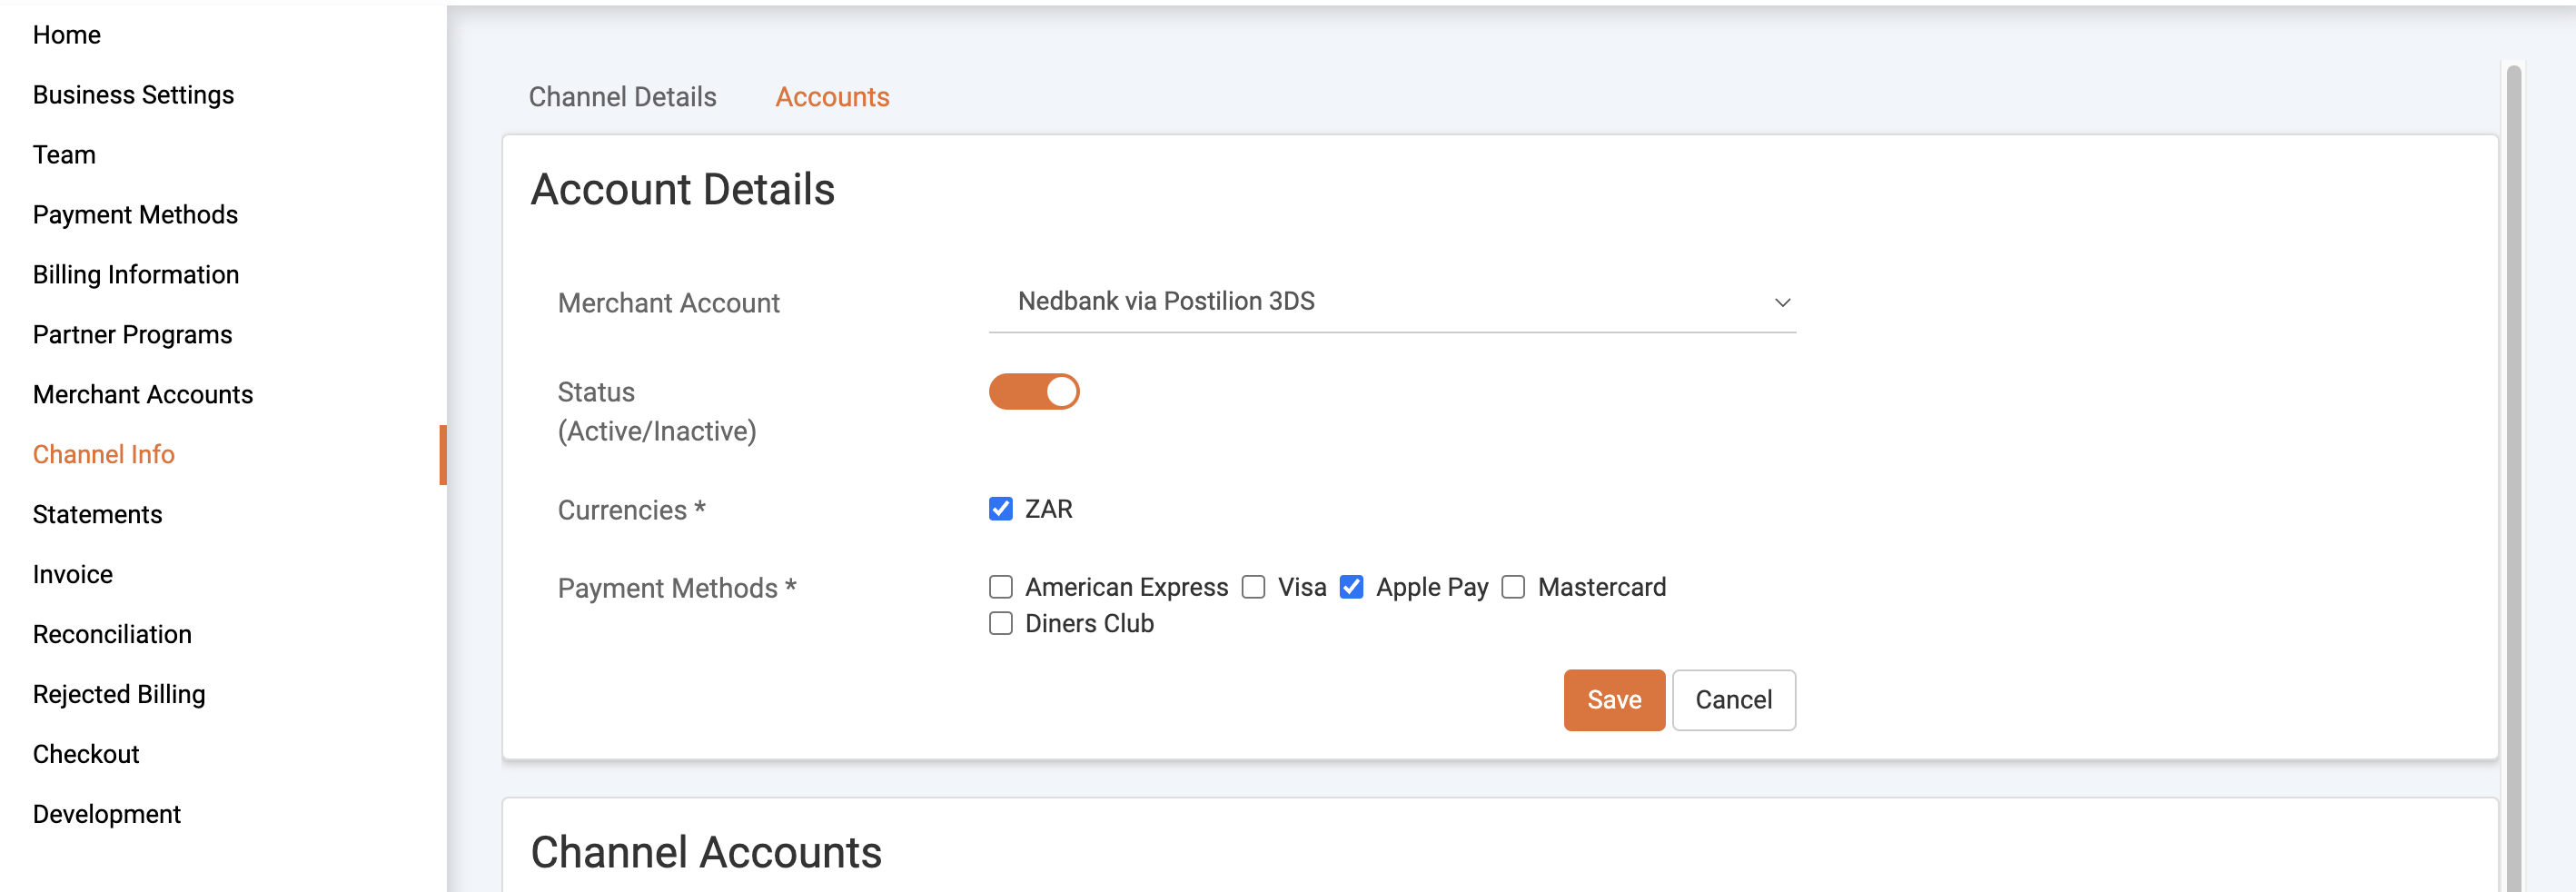
- Now that the checkout has been created, add the 3DS account to the channel and choose ApplePay as the payment method
- Once this is set up, navigate to the dashboard and locate the merchant account.
- Once you locate the merchant account navigate to settings>account and here you will find an onboard Apple Pay button that you should click
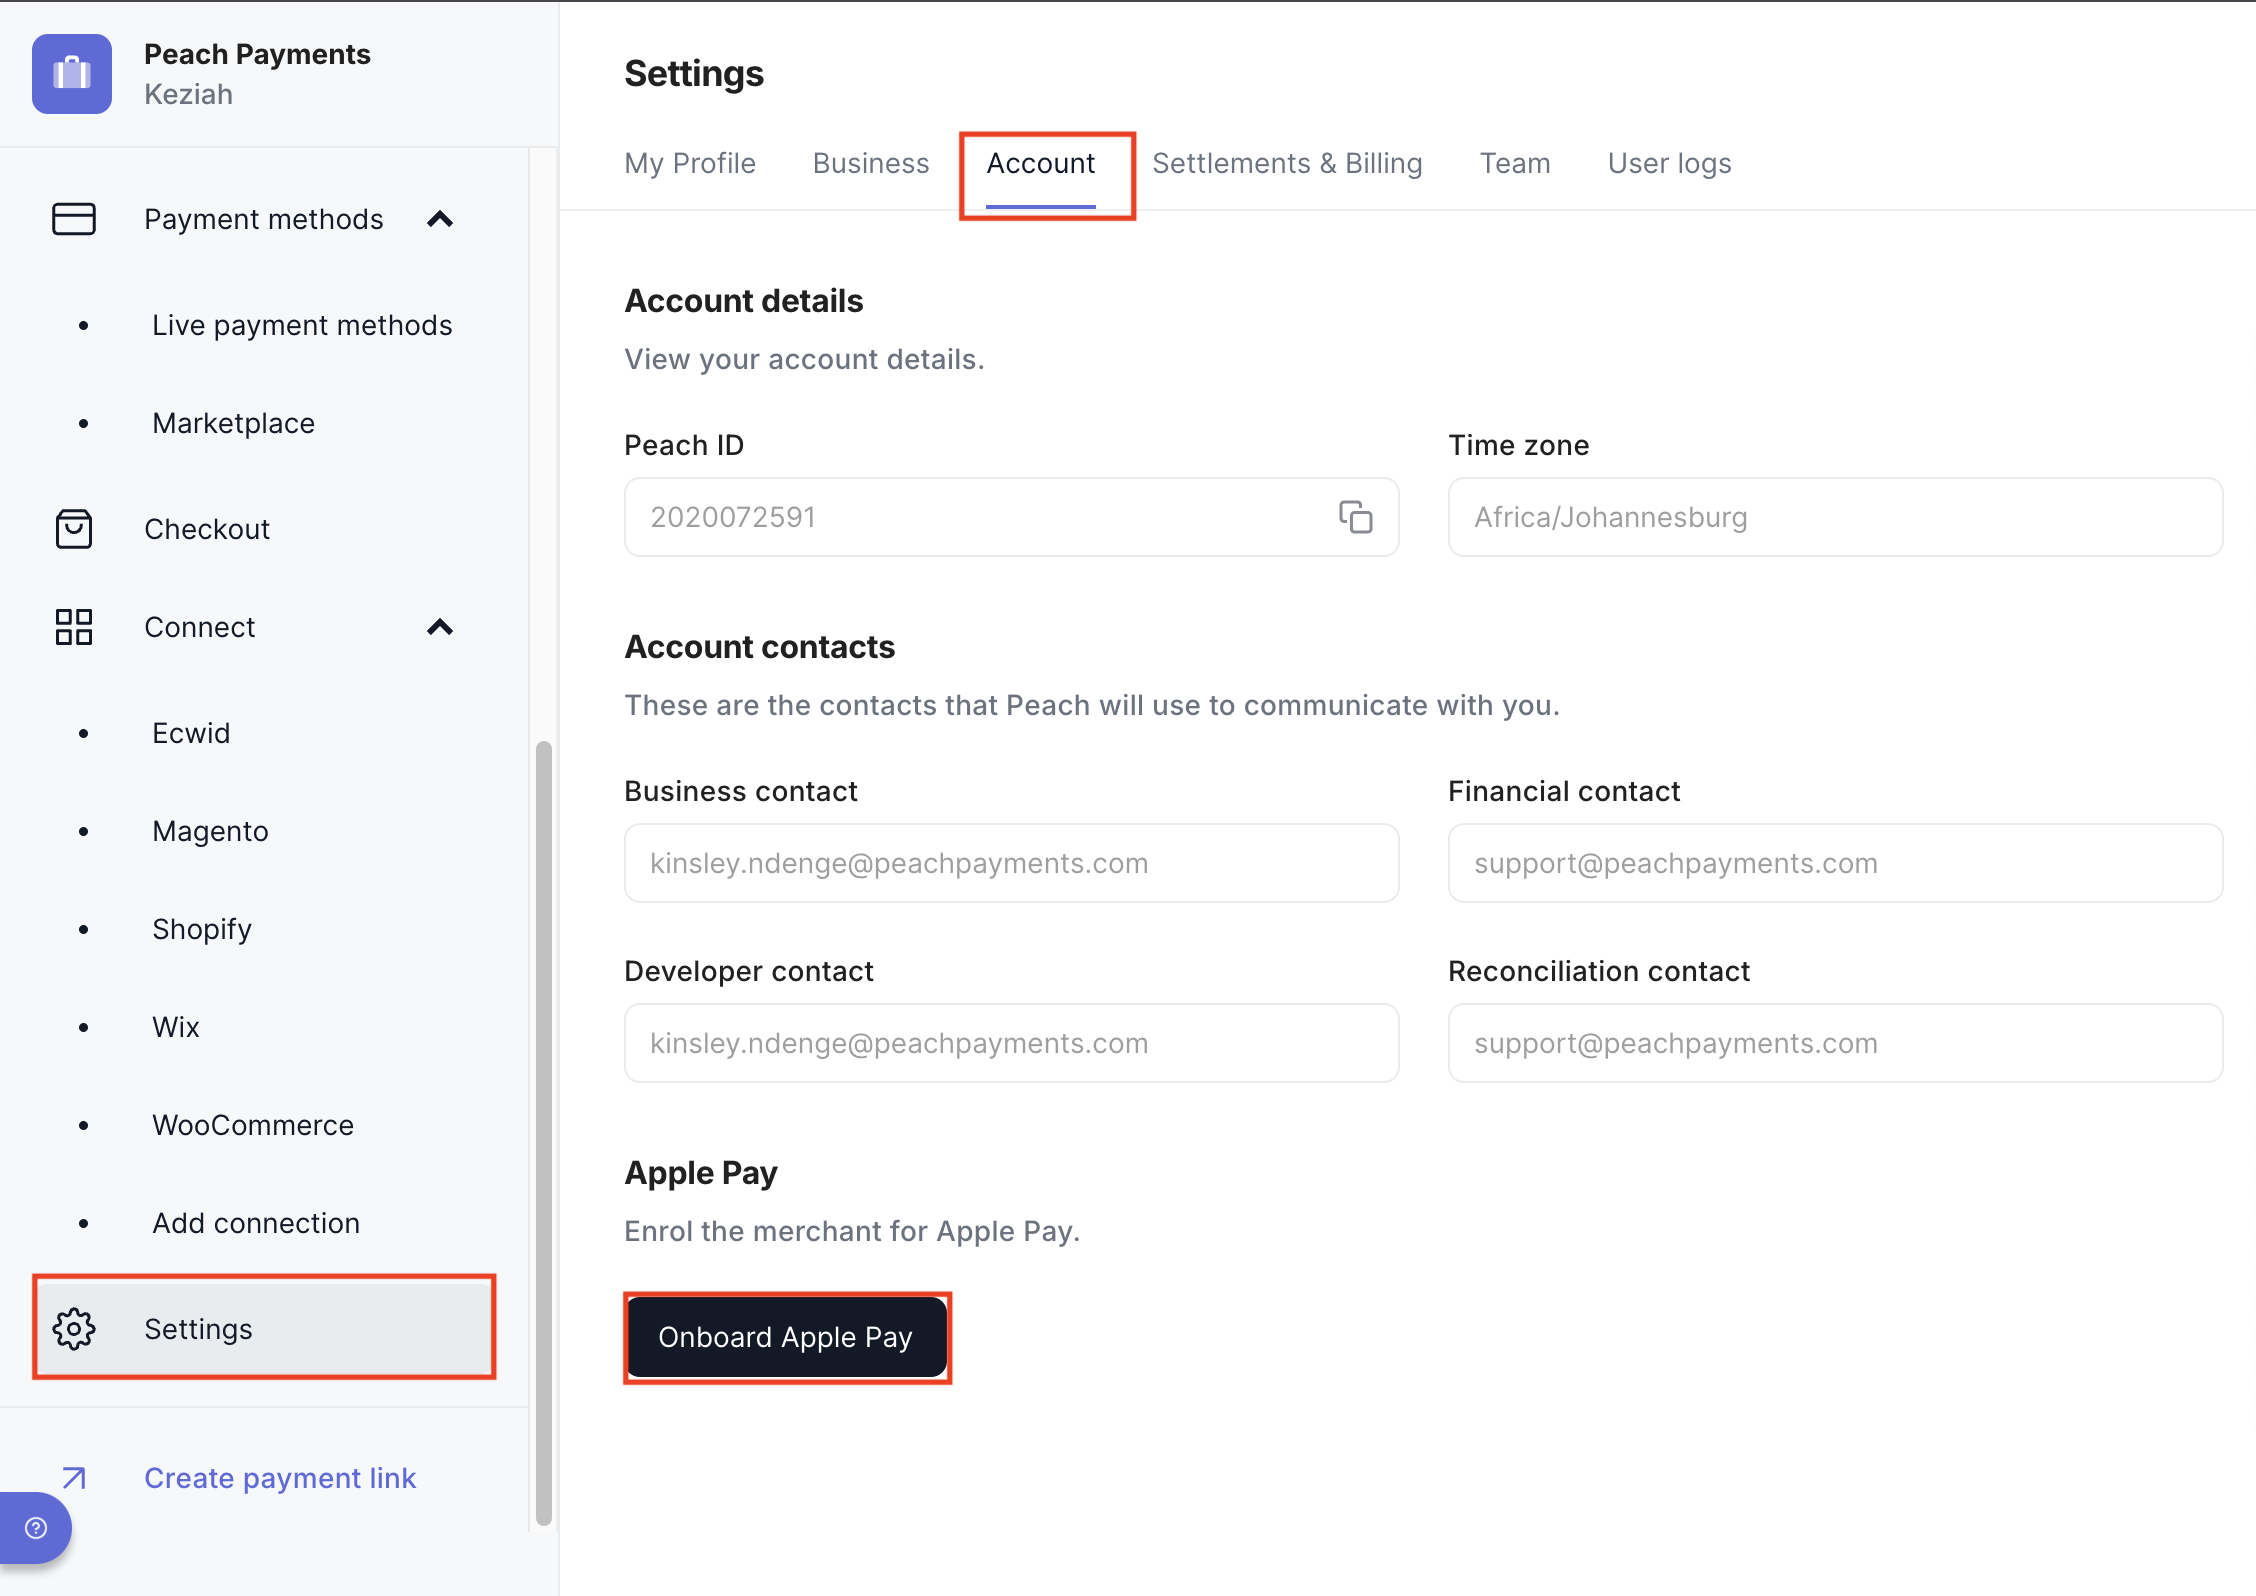
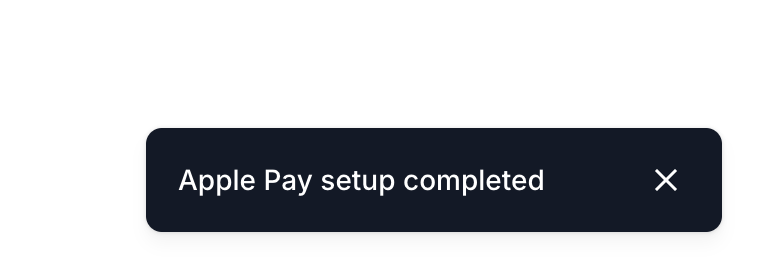
- Once you have clicked this button, wait a few seconds to receive confirmation that the onboarding has been completed successfully, and then that's it!
- Note: Please remember to run a test transaction before sending it out.
Was this article helpful?
That’s Great!
Thank you for your feedback
Sorry! We couldn't be helpful
Thank you for your feedback
Feedback sent
We appreciate your effort and will try to fix the article
Still can't find what you're looking for?
Our support team is here to help you with any questions.
Submit a Ticket